I decided to share a quick and easy DIY tutorial with you guys, not only because it’s one of Julie’s most popular topics, but because I love creating and sharing my own DIYs! Without further ado, here is my DIY Chalkboard Storage Jar Tutorial:
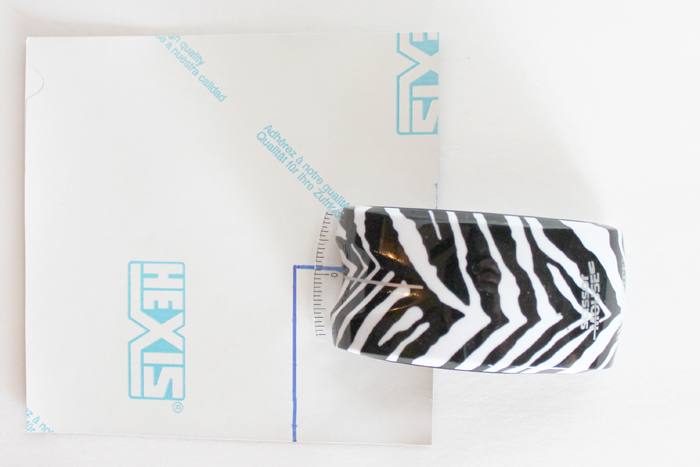
Decide how big you want your chalkboard labels to be then draw out straight lines on the backside of your vinyl for a better measurement.
Cut out the chalkboard labels and make sure they fit. Adjust as needed.
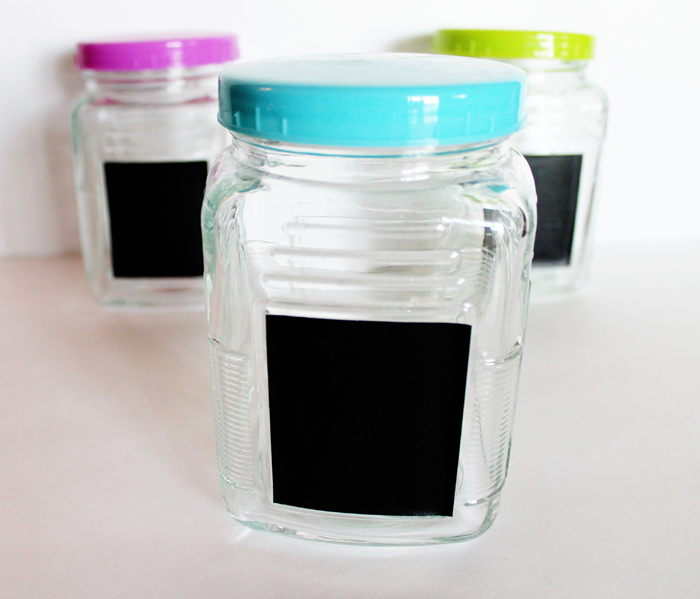
Next, apply the vinyl stickers to the jars.
There ya go! Now you can start organizing all of your craft supplies without misplacing a thing. Enjoy!
Don’t forget to check out my blog, SewCal Mama for more DIY tutorials like this one.




This is such a fun idea!
I’ve done this with a couple of my jars! I love it!! =)
Ergo – Blog
Love them! Super cute!
http://shannonhearts.blogspot.com/
Looks awesome socal! I will have to find some chalkboard vinyl somewhere.
xo Emily @ Hungry Delights
love this idea! it’s soo cute and handy!!
xo,
Sandy
Sandy a la Mode
Awesome DIY!
~Kim
http://2justByou.blogspot.com